Please note some changes were necessary in the orginial design of this page to make these images compatible with modern browsers
You can scroll manually or just let the galleries auto show you their contents.
Gallery 1
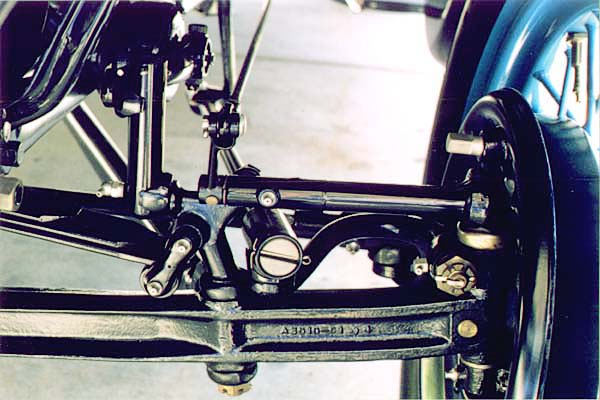
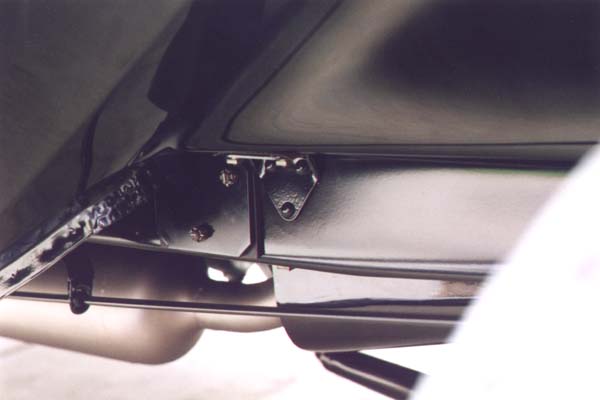
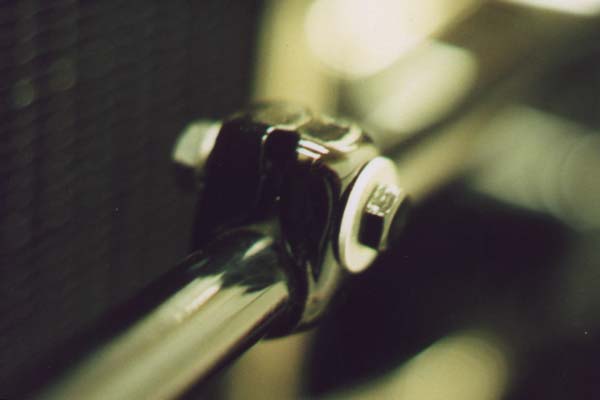
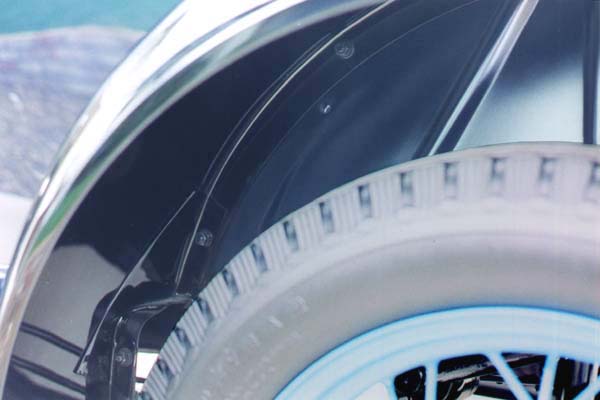
This Photo is a little misleading. The only cadmium plated items are the grease fittings, clevis pin, and brake adjuster. All other bright items are unfinished steel.
The fender, fender bracket, and shock link were dipped in enamel providing a prominent gloss. Other items visible here were sprayed and retained a moderate gloss.
The shock absorbers and arms are a matched set supplied by Houde. Engineering Corp., which was one of four suppliers.
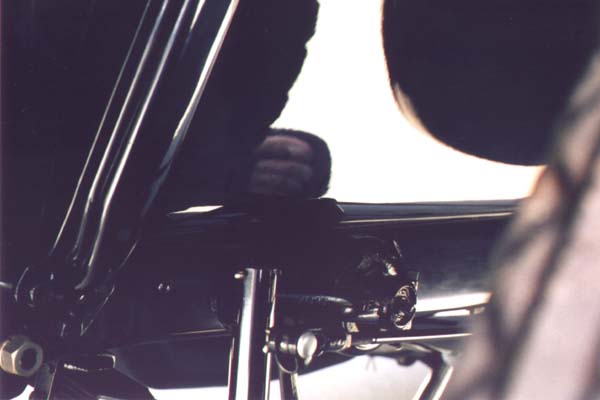
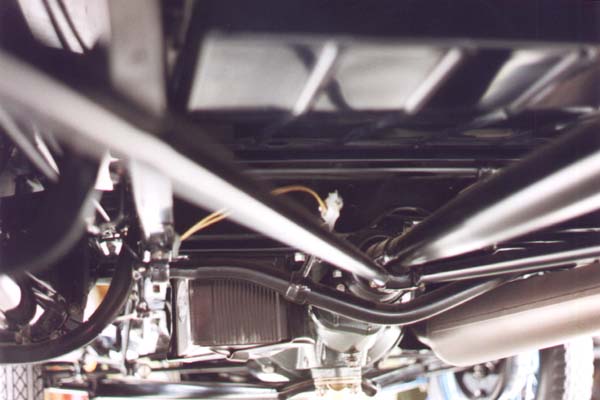
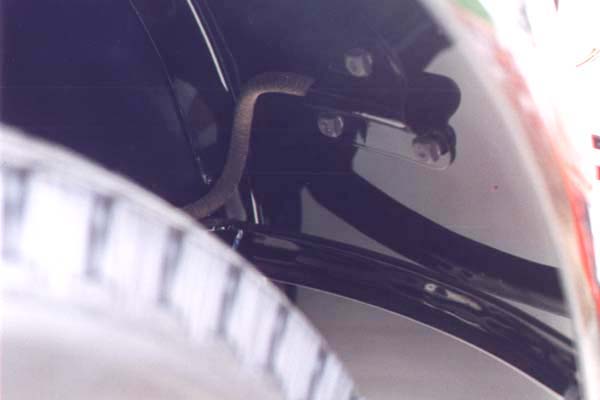
Another view under the right front fender shows the various finishes.
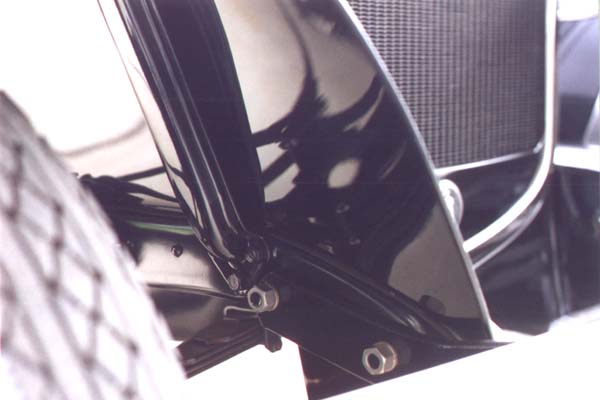
This view under the right front fender shows the contrast between the fender and frame. The frame was sprayed with an asphalt based "chassis black" which had little gloss and little resistance to solvents. The engine compartment pans were dipped like the fenders, but only one time or coat. The muffler was unfinished or plain steel. The rear motor mount to frame bolts were raven finish.
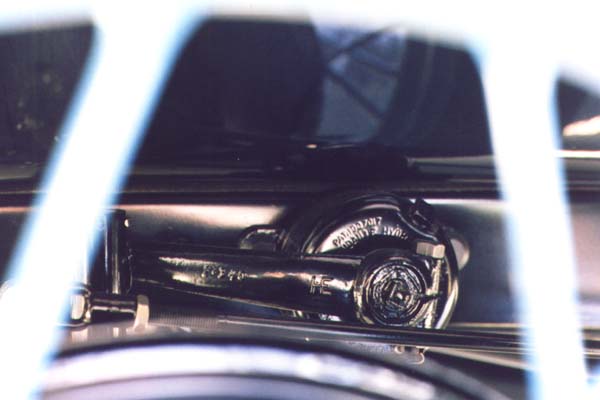
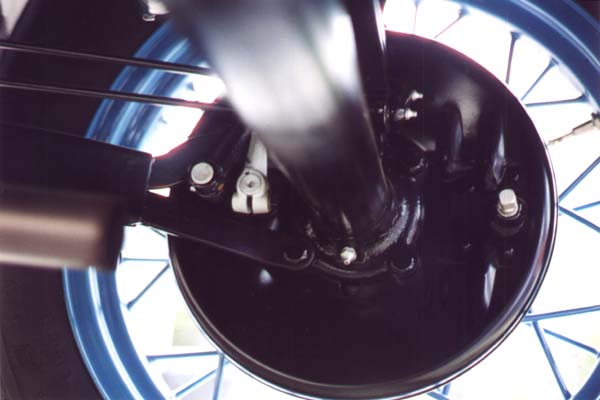
A poor photo, but what the heck!
The brake actuating shafts and adjusters were Cadmium plated all years. The emergency brake actuating levers were commonly (but not always) cadmium plated during 1930-31.
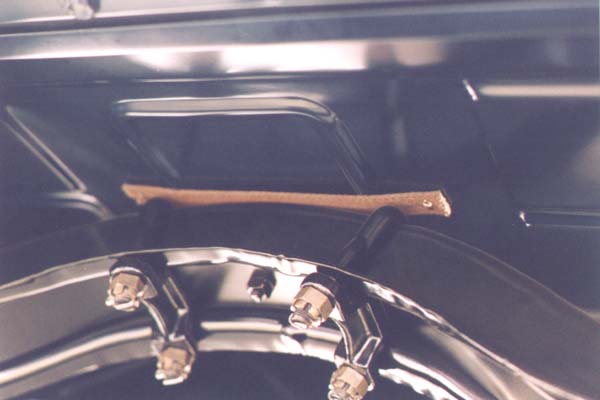
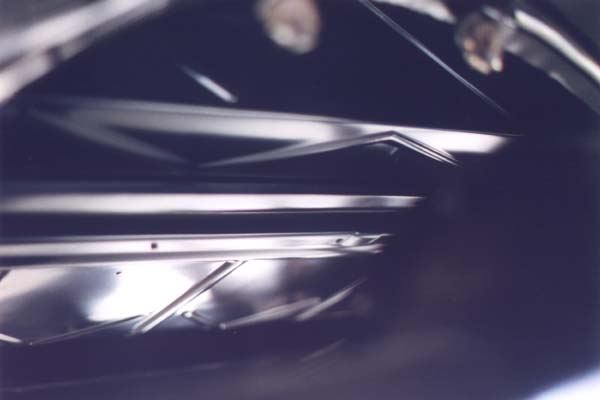
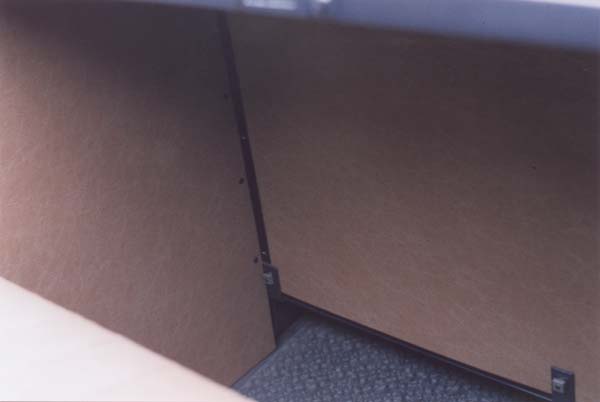
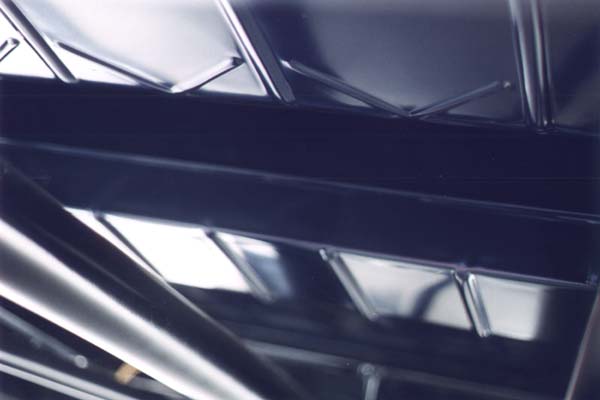
This view is of the bottom side of the body from the rear of the car. It shows the deep stampings of the front lip of the original rumble seat riser and the original "X" pan just forward of the riser.
This view is of the bottom side of the body from the rear of the car. It shows the deep stampings of the front lip of the original rumble seat riser and the original "X" pan just forward of the riser.
Gallery 2
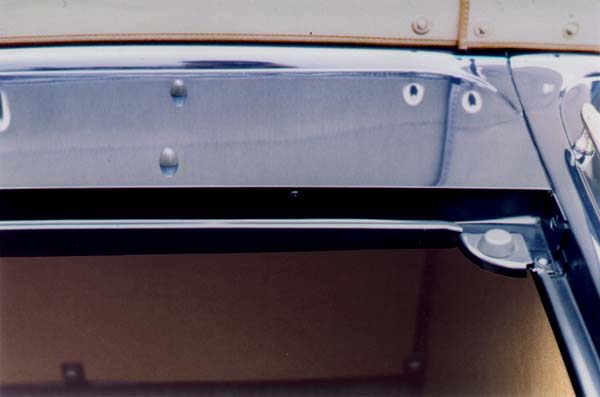
The bullet shaped rubber cushions on the upper deck are unlike anything manufactured today. They are fastened from the bottom with unfinished #8 x 7/16" round head wood screws. Note the unbuffed satin finish in the trough area around the decklid opening.
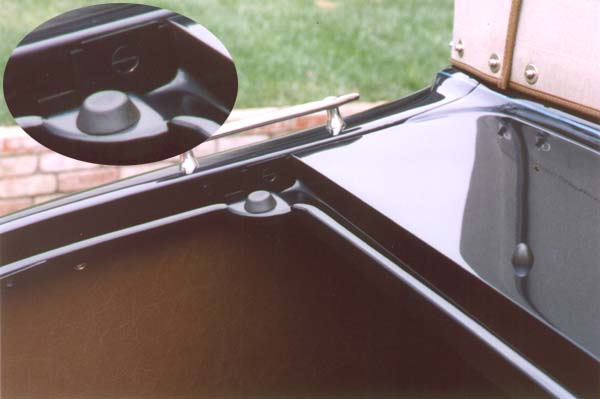
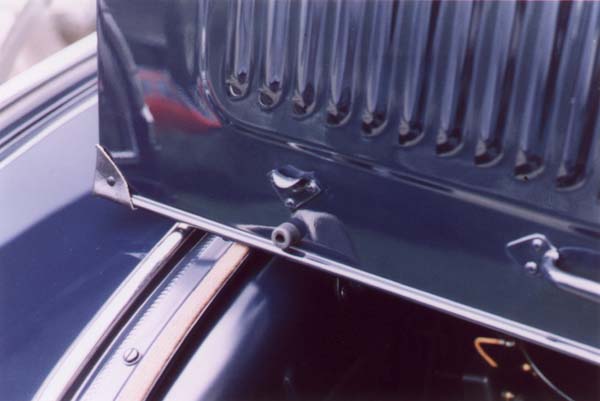
The original deck stop rubber is slightly smaller and shorter than those commonly seen today. The modern replacements are a reasonable copy of those used with trunk lids only. The decklid guide plates are unique to the Roadster. The modern replacements are copies of those used in Coupe bodies and will not fit properly.
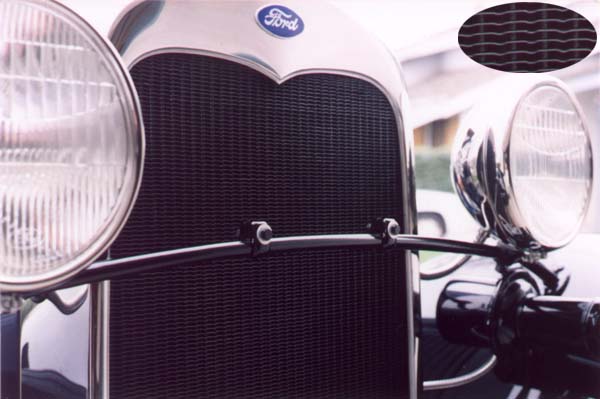
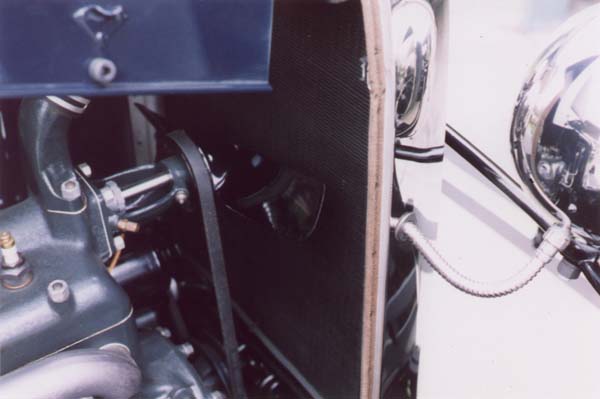
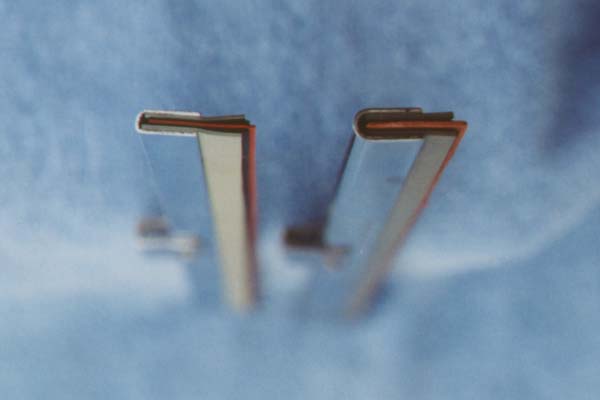
The original radiator core had one column of fin "dips" or dimples between each vertical front tube. The edges of the fins were folded under about 1/16" making the fins appear nearly 3 times as thick on the front and rear edges.
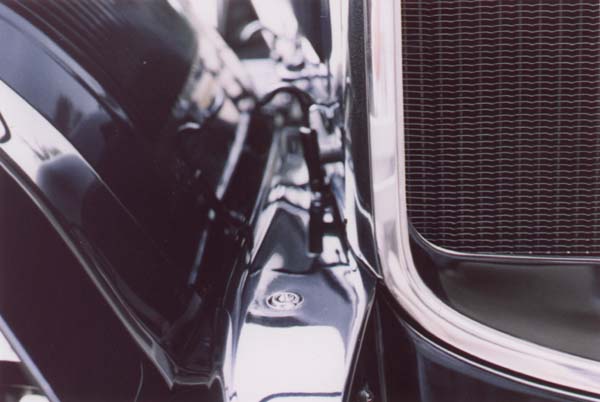
This view provides a strange reflection in the front fender. Note the radiator shell. The bottom inset was painted with pyroxyline lacquer providing a moderate gloss. The unpainted area was protected from paint with a shield or "mask" leaving a finely feathered edge. The second step recess that encircles the opening was unbuffed stainless steel.
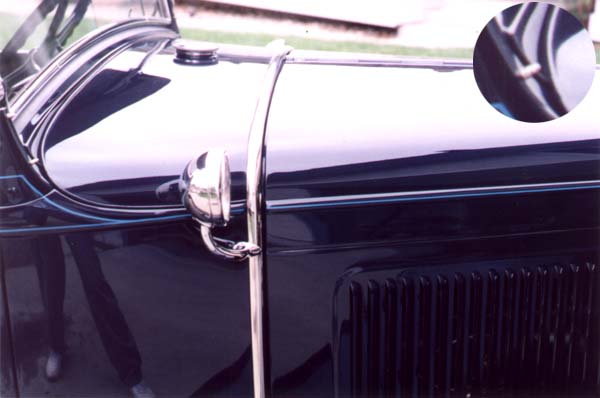
The inset image shows (poorly) the painted lead spacer that was used between the ends of the dashrail finish panel and the inside edges of the lower stanchion. This looked like a trim welt and acted as an anti-squeak. The lead anti-squeak replace a painted artificial leather version approximately April 1930. The beltline on the hood aligns well with the body. The original lacing or hood pad around the firewall was thinner than modern replacements allowing the hood to lay down and reach the proper location.
The hood rubbers prior to April '31 were 5/8" diameter x 1/2" deep and had a radiused outer end. The original leather hood corner had the seem running diagonally up the back side. It was either at 30° or 60° depending on which side of the car. The leather is thicker and firmer than modern upholstery leathers. Both items were attached with 9/64" dia. x 5/16" long tubular rivets finished in black enamel. Note the unbuffed satin finish paint on all but the outer surfaces. The smaller diameter rivet heads (approximately .285") are the easiest way for the novice to recognize an original hood. The differences in curvature are less obvious until familiar.
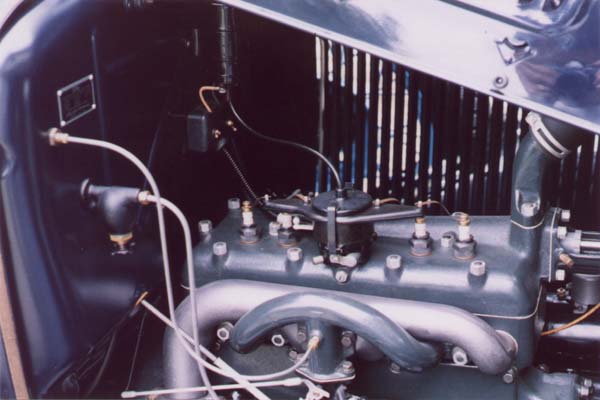
The exhaust manifold shows the grind marks where the casting seam or slag was ground off flush along the top. The original copper/asbestos clad manifold gaskets are nearly a perfect match to the diameters of the manifold, unlike the reproductions that are much larger. The edges of the gaskets are sheared clean and look exactly like the edges of the head gasket.
Another view of the manifold detail as described previously. Also seen here is the original terne finish cut-out.
The top "hidem" or trim binding was "Locktite binding". The Locktite and edge binding were made of two-tone tan Bedouin grain to match the interior trim.
There must be something worth mentioning here, but I'll have to work on it!
Gallery 3
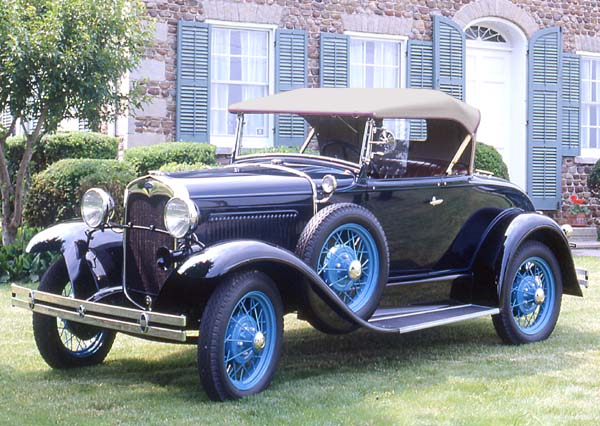
Photo taken in Rochester, NY for the cover of the July-August issue of the "Model 'A' News" - by Ken Keeley
The Roadster on display at the end of the Grand Tour near Rochester, NY in 1996
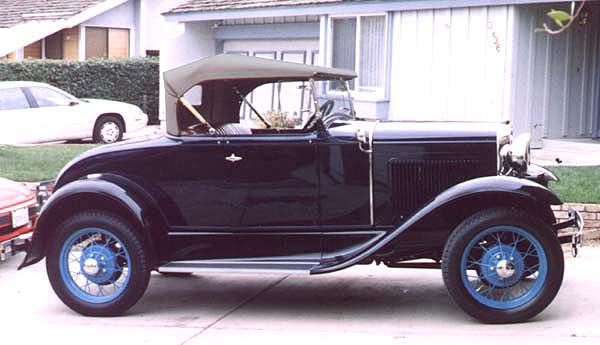
A simple right side view showing the absence of a side mounted spare tire.
Another right side view showing general alignment.
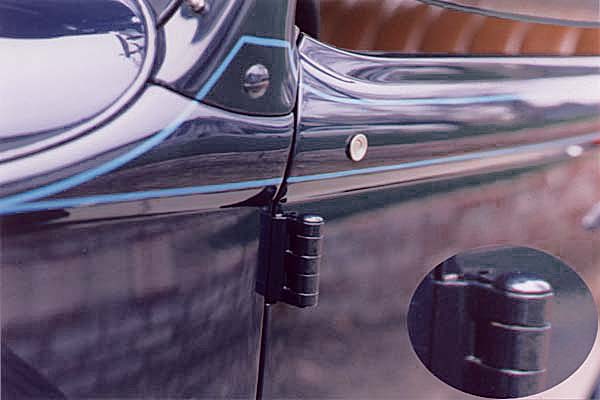
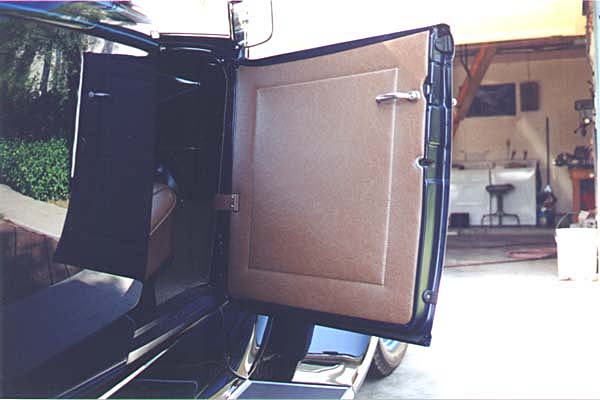
The hinge pins were unique to the open models. The hinges were fairly snug but would move freely with the weight of the door. Absolutely no rattles were produced by the hinges.
The top of the doors blended nicely the belt rail finish panel (dash).
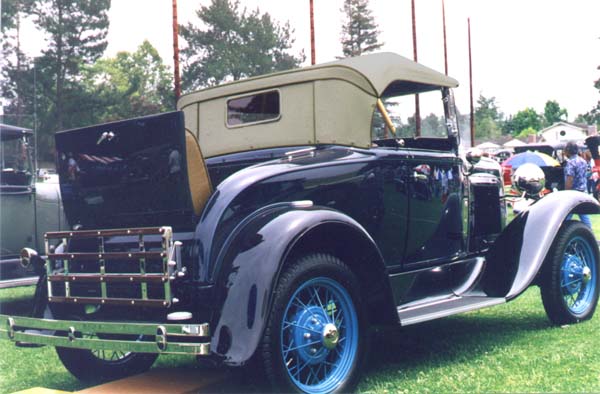
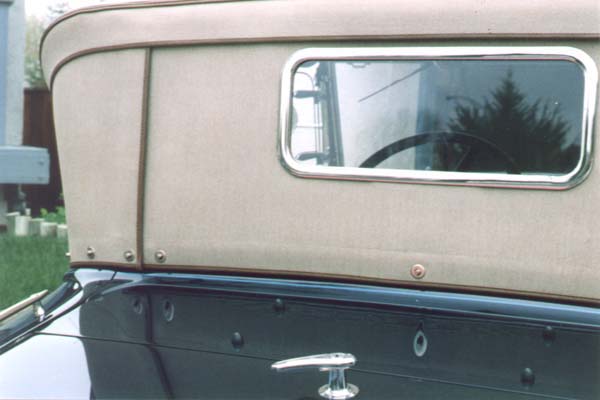
Rear view of the top
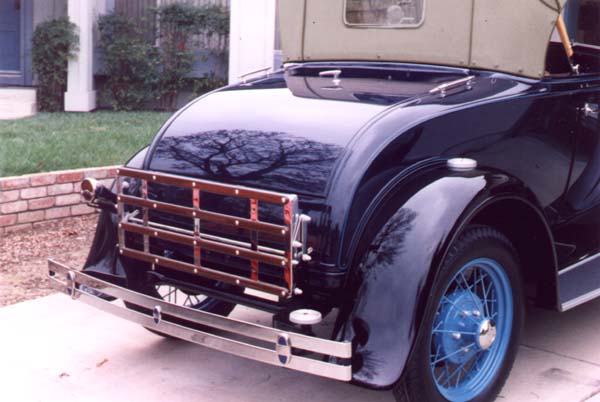
Nothing very noteworthy here. The red color of the luggage rack is the reflection of a red car behind.
Unlike modern vinyls, the two-tone tan Bedouin Grain artificial leather is quite stiff. The paint on the inside and edges of the decklid was unbuffed and provided a satin finish.
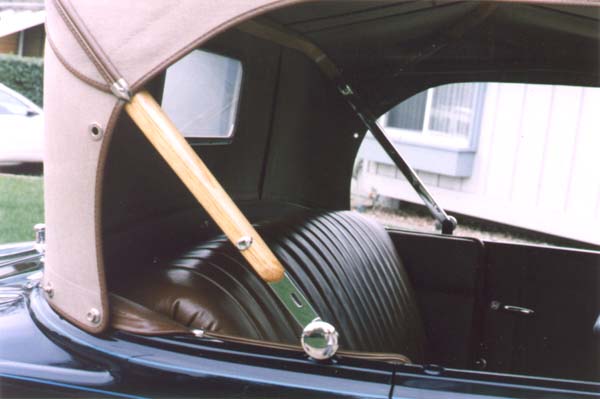
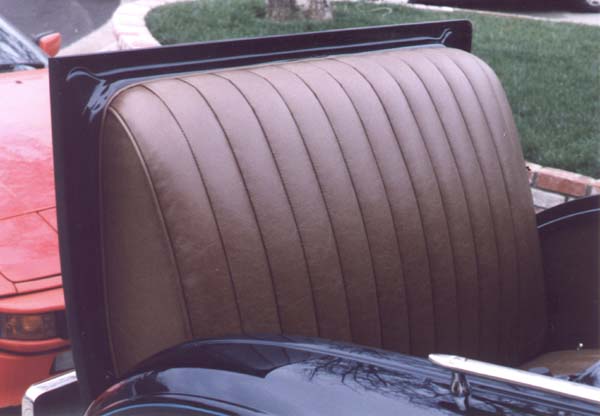
The rumble seat side cardboards were attached to the rear of the front seat on Roadsters only. The black angle bracket was riveted to the side cardboard with black enameled 9/64" tubular rivets. The assembly was then fastened to the rear of the seat with three black enameled round head screws. The seat was attached to the three angle brackets with 3/16" x 1/2" unfinished square nuts and lock washers.
Gallery 4
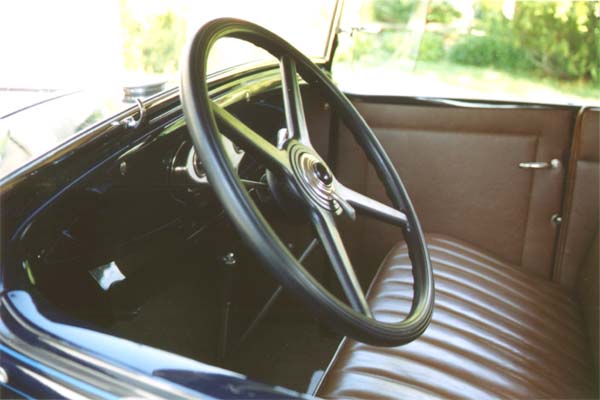
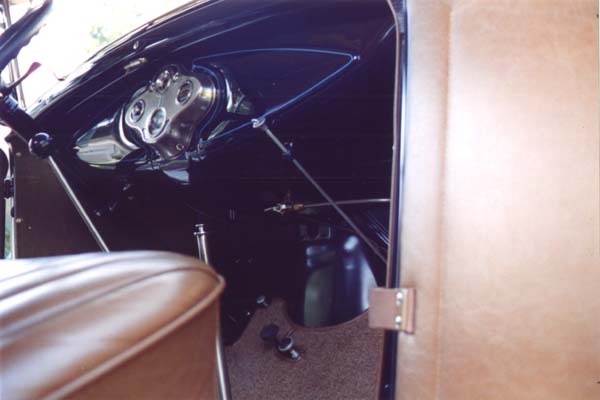
An overall view of the front compartment. Not much detail in this photo.
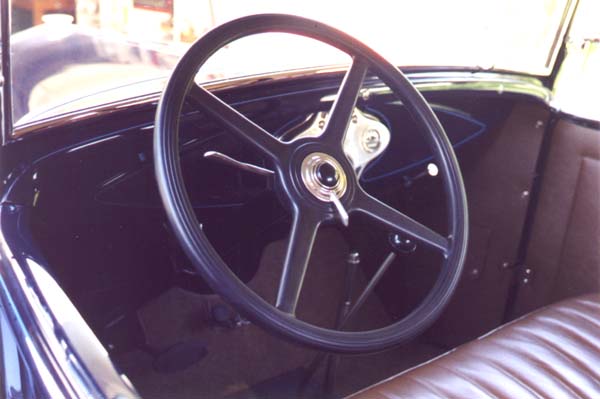
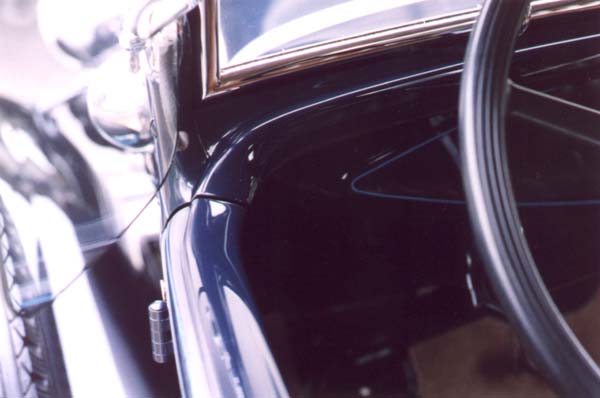
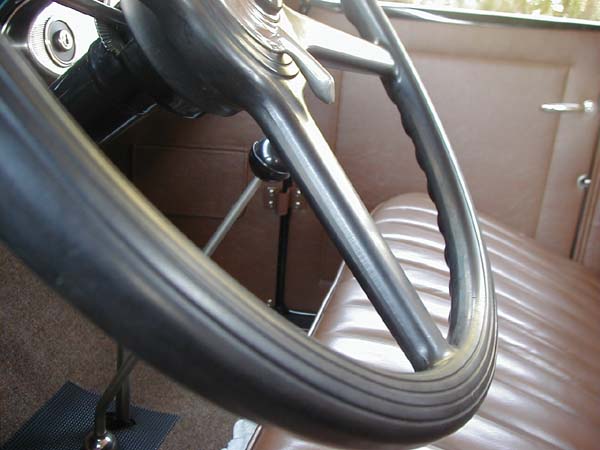
This close-up view of the steering wheel shows the fresh moulded finish of the rubber type material. The flashing or mould seam was neatly ground as can be seen on the spokes. The perimeter was ground lengthwise around the wheel making it less obvious.
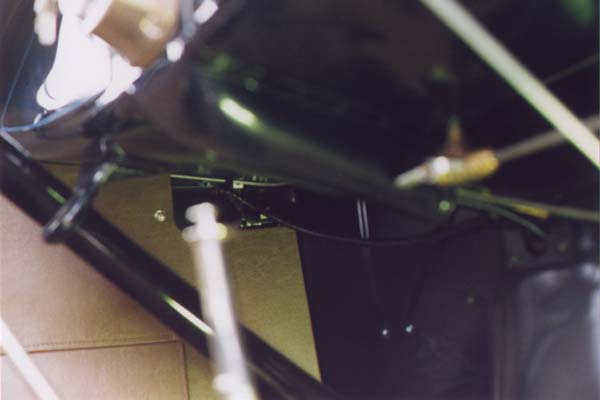
An overall view under the fuel tank.
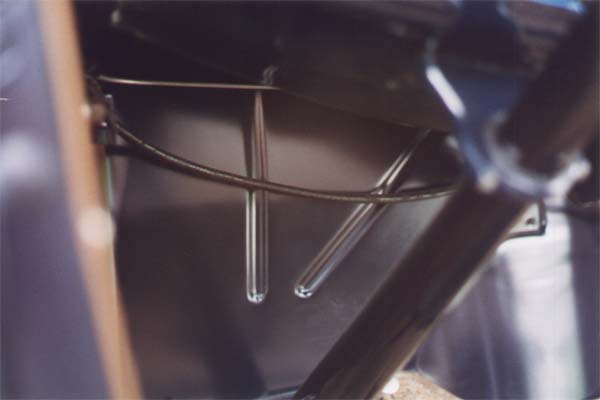
A closer view shows part of the routing of the seamed steel vacuum line and cowl lamp harness conduit. The vacuum line was changed slightly with indented firewalls introduced in May 1931. On those models the line dropped down in the center and passed through the wiring clip behind the terminal box.
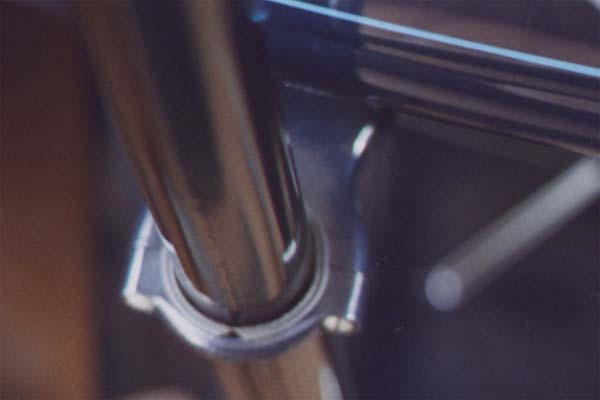
This is a blurry attempt at showing the steering column support anti-rattler (rubber). It shows the angled ends. Unfortunately, less evident is the raised mould line near the column that also shows fibers from the cloth reinforcement within the rubber. Also note the original cadmium plated screws (original plating).
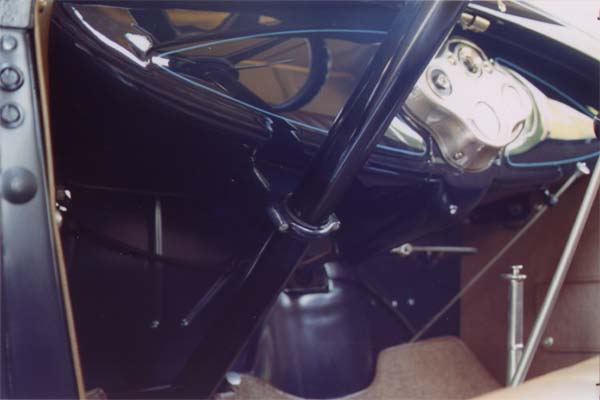
This is a little dark but some under dash detail can be seen.
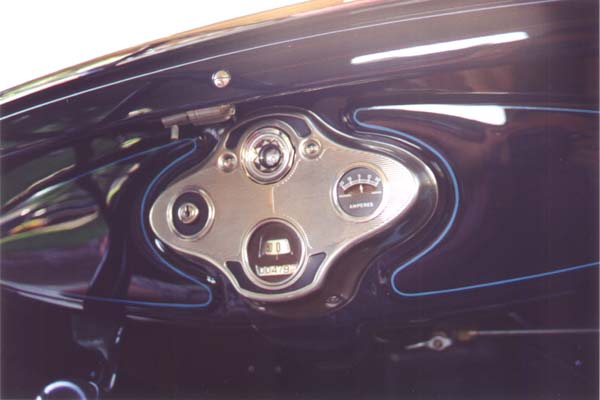
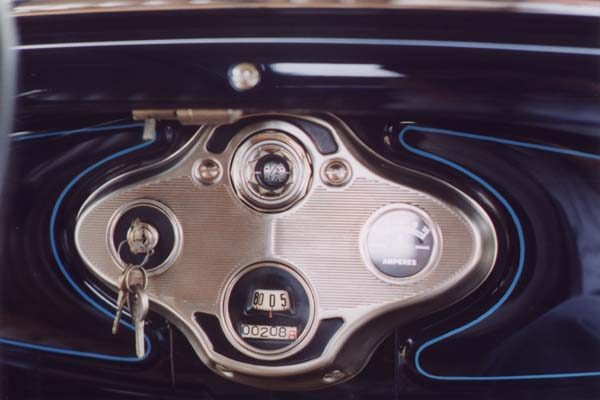
All the black items around the instrument panel are similarly satin. The ammeter has unpainted aluminum letters and markings on the face plate. The inside back of the ammeter was sprayed flat black so nothing bright or reflective was visible through the hole in the face plate.
The upper and lower recesses in the instrument were painted satin black. The unpainted areas were protected from spray with a mask providing a feathered edge around the perimeter or the recesses instead of a tape ridge.
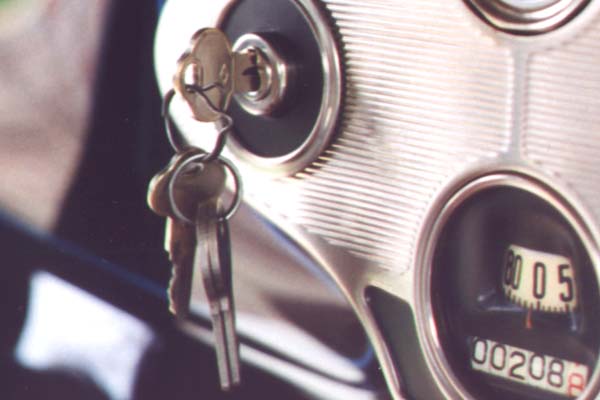
The ignition and deck lid keys were unused originals. Also shown are both types of original key rings that were randomly supplied. I don't believe two rings were supplied for one car but have taken the opportunity to display both types. As simple as they are I've never seen a modern match to either style. When the ignition lock cylinder is popped out it has a visible key number stamped on the nickel plated cover. This number was relocated to an area hidden by the panel in mid 1931.
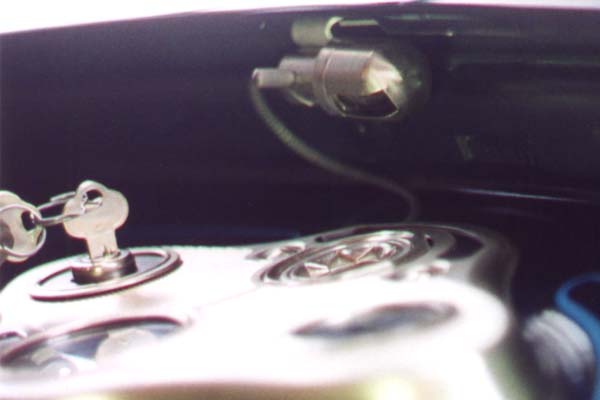
The instrument panel lamp was nickel plated over unbuffed brass on both the base and the cover. The mounting bracket was cadmium plated prior to assembly to the lamp base. The spiral armor on the wire was less closely wound than the modern version. This left a small area of the underlying insulation visible between each spiral.
Gallery 5
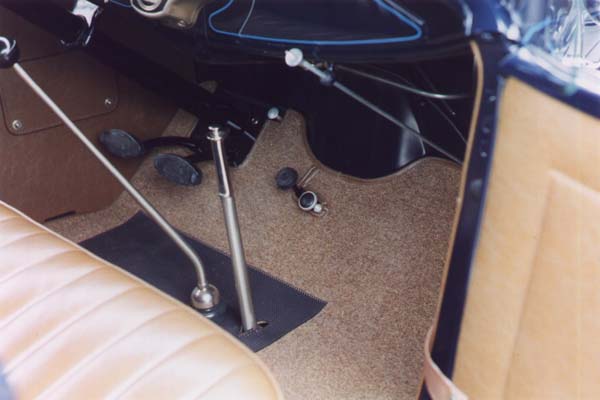
The carpet binding was finished at approximately 7/16" wide as viewed from the top. The binding was artificial leather matching the interior trim.
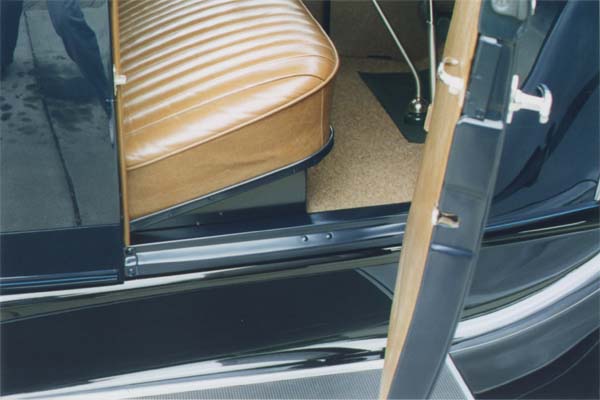
Another view of the front floor. The carpeting or "tapestry" as Ford described it, was closely tinted to match the surrounding interior trim. The door windlace and wire-on trim on the quarters are made from genuine leather, as are the seating surfaces and welting. Note the contrasting unbuffed paint in the door openings.
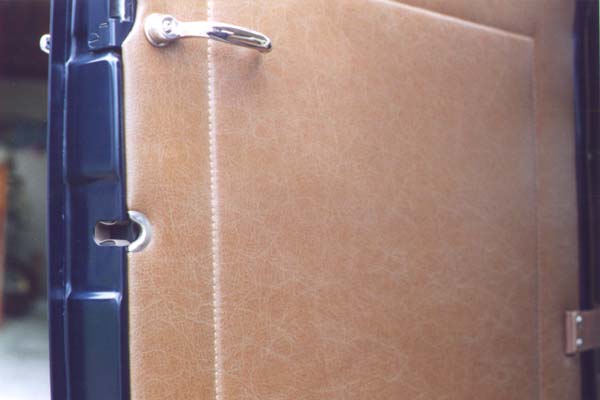
The center of the door panel is embossed. This was originally done by die stamping the cardboard panels. This 1/8" off-set also provided a guide for the stitching pattern during production.
Another view of the embossed door panel. The door handle was backed by a dull nickel plated flat washer or "escutcheon" measuring 7/8" x 1/16" thick. The dovetail insert in the door edge was made of tempered spring copper. The nickel plated bezel on the door panel was much smaller than those used on most other models and was plated over unbuffed brass.
Another view of the front carpet detail. Note the matching edge binding and the small hole surrounding the throttle and foot rest.
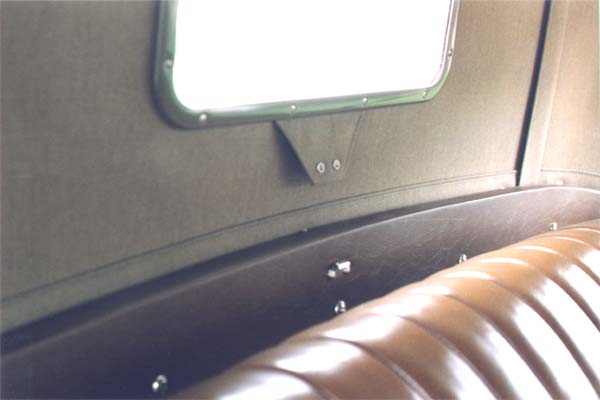
The inside top was a light olive drab or "tan drab" as was the outside. The reinforcing strip along the bottom of the curtains had the top edge folded under providing a finished appearance. The modern method is to sew on a piece of scrap fabric and trim off the excess afterward. This leaves a raw unfinished edge. The flap below the window was included beginning late 1930. It was used to hold the rear curtain off the rear deck when the top was folded.
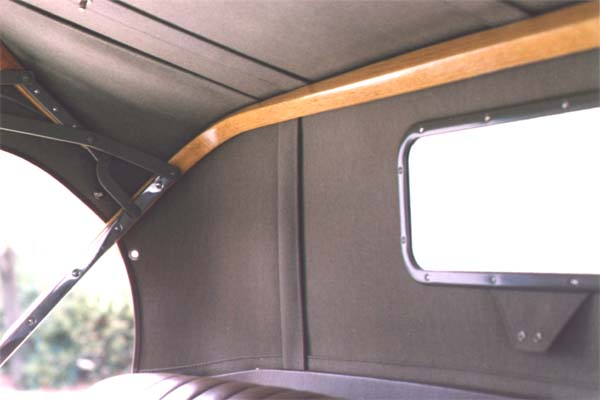
Another view of the inside top. The rear curtain was made from a special "double texture curtain material", which was made of three layers of fabric laminated instead of just two. This extra strength eliminated the need for a reinforcing strip along the front vertical edge of the rear quarter curtains.
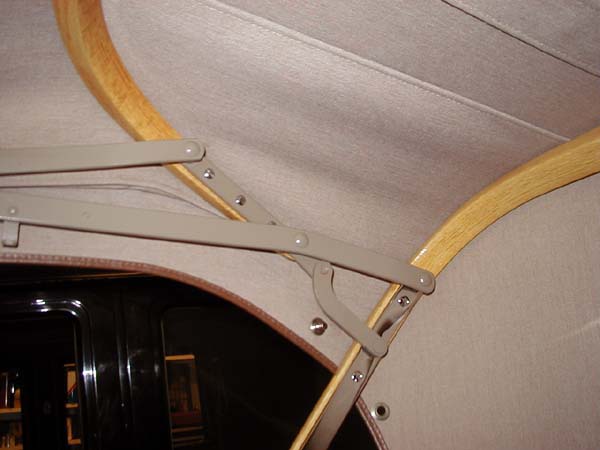
This view shows some of the detail of the original wooden bows and folding mechanism.
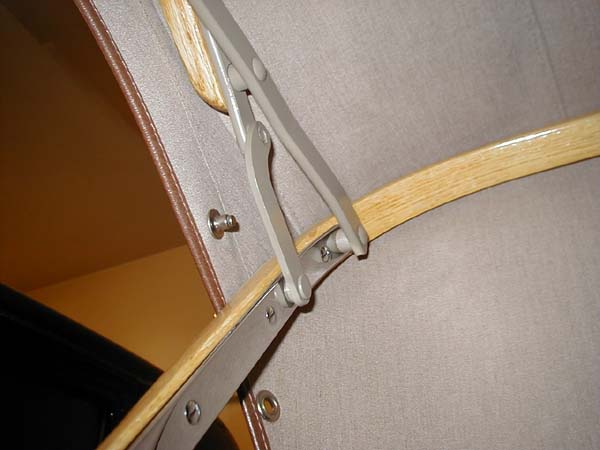
Another view of the folding irons. The rivets and spacers shown at all the hinge points are the originals. Fortunately they were restorable for reassembly. Note the "Cinch" stud fastener installed just above the rear bow. This is for attaching the quarter side curtain. This fastener is omitted from most restorations and all top kits I've seen.
Gallery 6
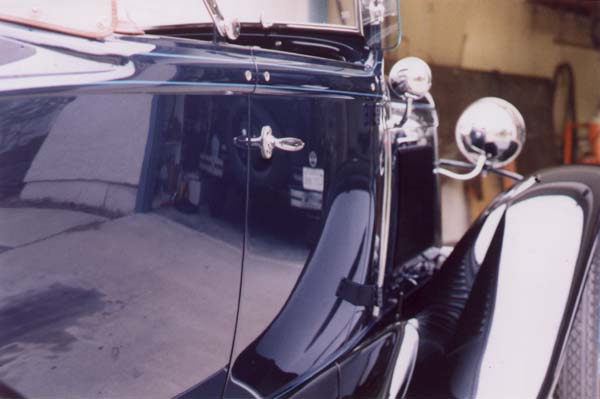
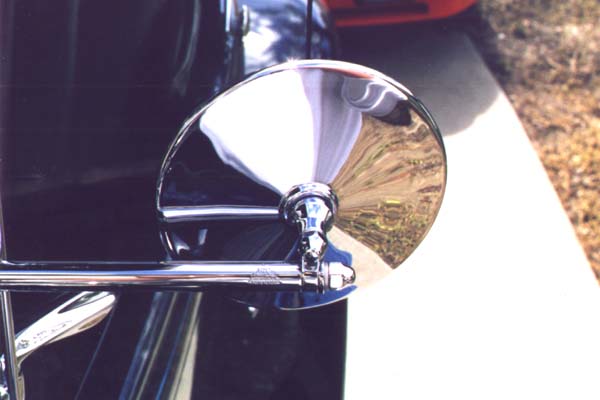
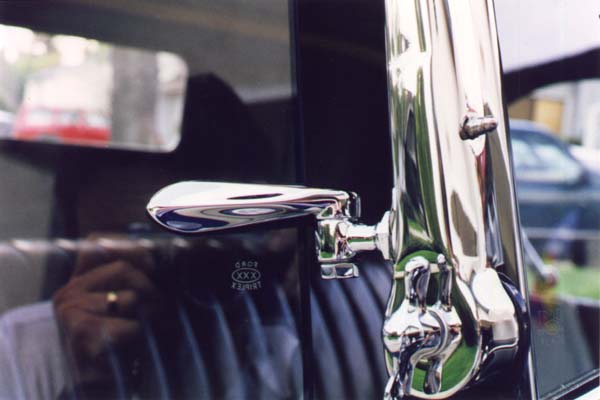
This original mirror is made by Trico and has their logo on the arm near the mirror. The version from Stant Manufacturing is nearly indistinguishable except for no markings. The lock washers under the acorn nuts are cadmium plated.
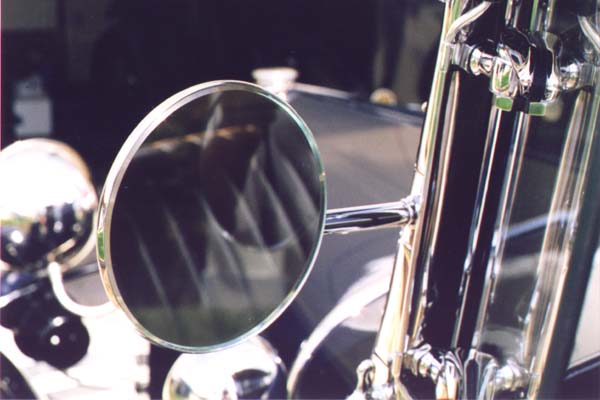
This view of the mirror shows the bevel of the mirror glass. The glass is only .117" thick, so most of the bevel is exposed.
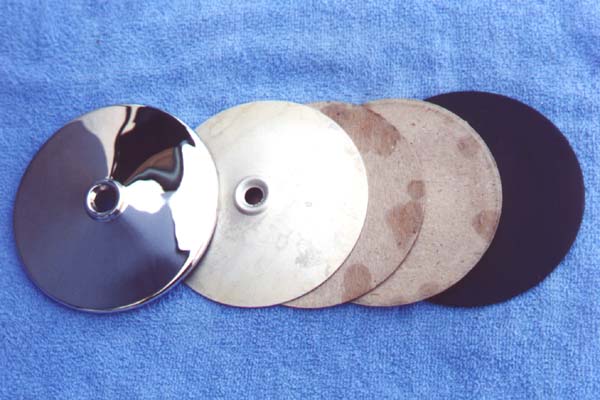
The cadmium plated insert not only backed and supported the thin brass housing shell, but provided a slight spring load against the mirror so it wouldn't rattle in the housing. The two cardboards were used as shims to space the glass outward as well as provide a pad over the cadmium plated insert. The mirror housing had to be opened slightly for removal of the glass. I removed a couple of small dents from the housing, buffed the brass to a "mirror" finish and had it chromed. The glass was resilvered and reinstalled. A friend made a die for reforming the crimped edge around the glass.
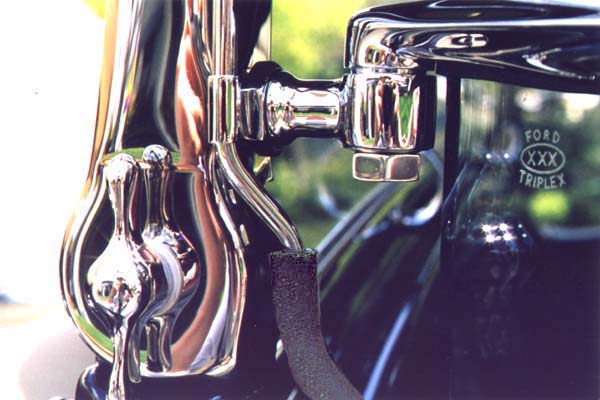
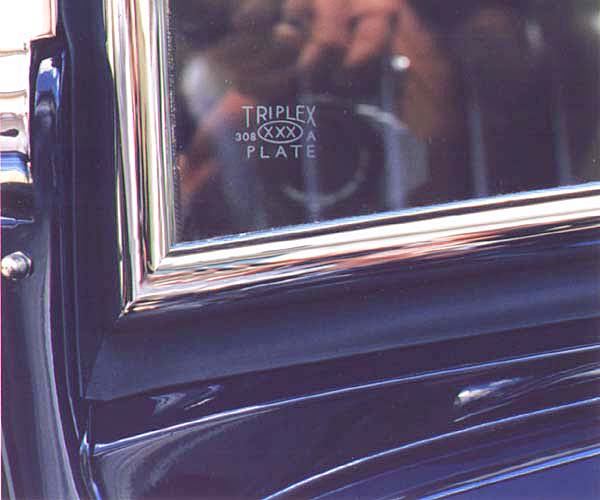
Beginning October 1930 all laminated glass including windwings had a black sealer around the perimeter. It was embedded in the lamination (between the glass layers) 1/16"-1/8" deep.
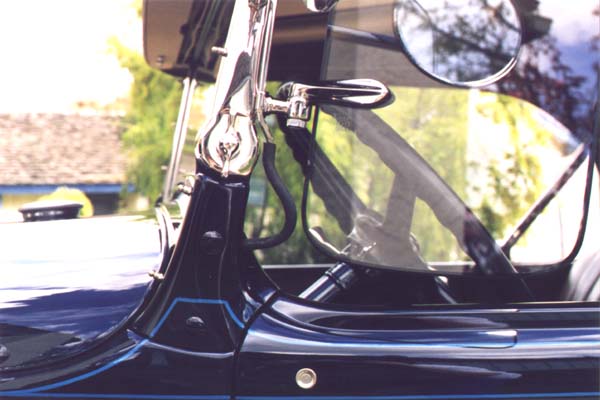
This close-up shows the earlier type safety glass marking. It is a scaled down (smaller) version of windshield markings. The original vacuum hose is cloth reinforced and has a cloth impression on the exterior. Like the terne finish vacuum tubing used elsewhere, the chromed tube on the stanchion has a lengthwise seam from the wrapped construction. The bright reflections tend to hide the distinct seam, but it can be seen just above the hose in this photo. The windshield and stanchion hinges used a small cadmium plated flat washer under the wingnuts.
This close-up shows the earlier type safety glass marking. It is a scaled down (smaller) version of windshield markings. The original vacuum hose is cloth reinforced and has a cloth impression on the exterior. Like the terne finish vacuum tubing used elsewhere, the chromed tube on the stanchion has a lengthwise seam from the wrapped construction. The bright reflections tend to hide the distinct seam, but it can be seen just above the hose in this photo. The windshield and stanchion hinges used a small cadmium plated flat washer under the wingnuts.
This view shows the Dated "bug" on the windshield. This one is dated two months prior to the construction of this car which was quite common during this time period. Also visible is the painted lead bead between the lower stanchion and dash rail panel. One of the many distinguishing features of the original windshield frame is the square, electrically butt welded seam between the sections. Replacements are generally welded from outside creating a rounded joint when finish ground.
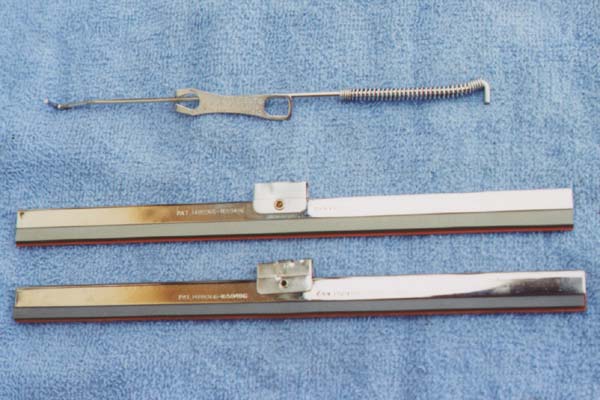
The photo doesn't show the detail intended. The clear lettering is not visible on the wiper arm clip, but the dull chrome finish is somewhat visible. The original wiper blade (top) has a slightly narrower frame than the only available reproduction (below). The positioning of the patent information is also located differently.
This view of the comparison shows the thinner original on the left and the reproduction on the right. The colors of the rubber strips on the reproduction are quite close, but the thickness is much greater
This close-up of one front license plate clip shows the original mounting hardware. The bolt is black enameled with the typical thick head. Like most bolts used on the Model A, they were classified as SAE "unfinished" bolts. This simply means there was NO machining on any part of the bolt head. The nut was raven finished, the flat washer was cadmium plated, and the lock washer was unfinished.
Gallery 7
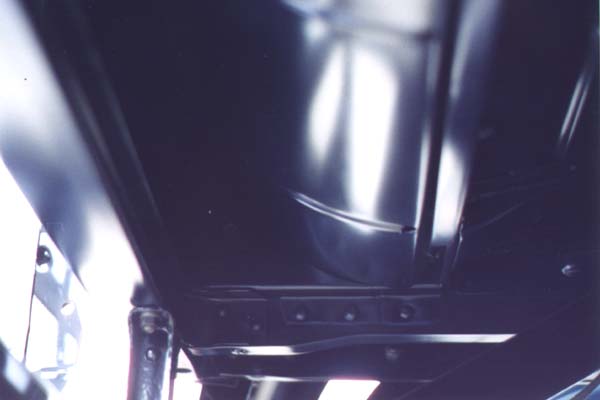
Another view of the original floor pans showing their deep stampings and unpolished finish. Modern replacement pans have much shallower beads that are added with small sheet metal equipment. The original pans are die stamped.
The curved rear pan has very deep half round strengthening ribs. Unfortunately this photo doesn't show it well.
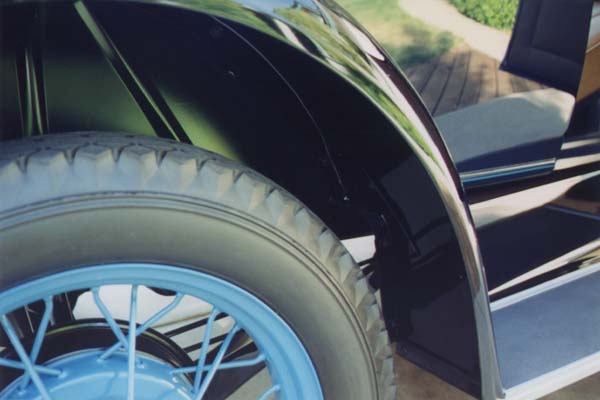
Like the front fenders, the rear fenders were dipped and looked the same on the bottom as on the top. Only dark body colors would be seen under the rear fenders. Others would be painted satin black in this area of the body. This also shows my other set of wheels and tires. The tires were unused Goodyears circa 1938.
The rear fender brackets as well as the rear lamp brackets and plates were also dipped. The conduit for the rear lamp wires shown here is also original. The modern version is quite close.
This is a later photo with the other set of wheels and new (and accurate) Goodyear tires installed. Both sets of wheels have original "R" (supplier) hubcaps and original Schrader valve stems and covers installed
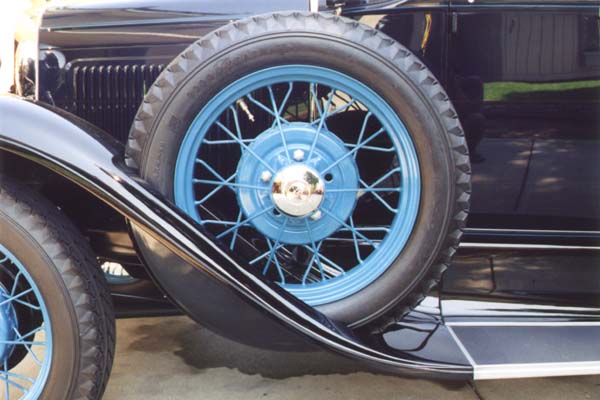
The side mounted spare was installed with the valve stem at either 11 o'clock or 1 o'clock.
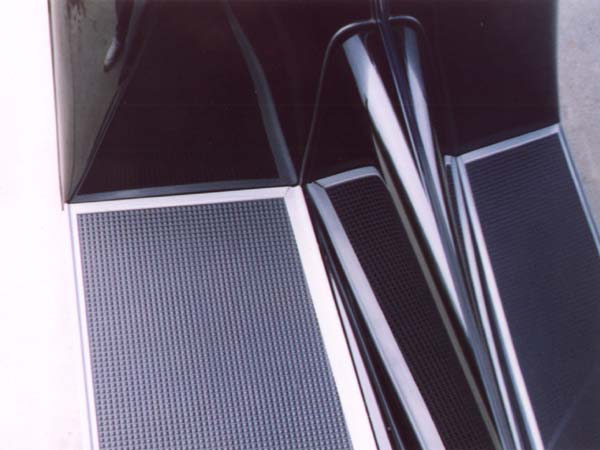
The outer running board moulding aligned nicely with the fenders. The bead or step in the original zinc mouldings was the same size and shape as those on the fenders. This made a nice continuous bead from front to rear of the car. This can also be seen in the previous photo.
The original running board matting had a slightly smaller pyramid pattern, or more pyramids per square inch than the modern replacements.
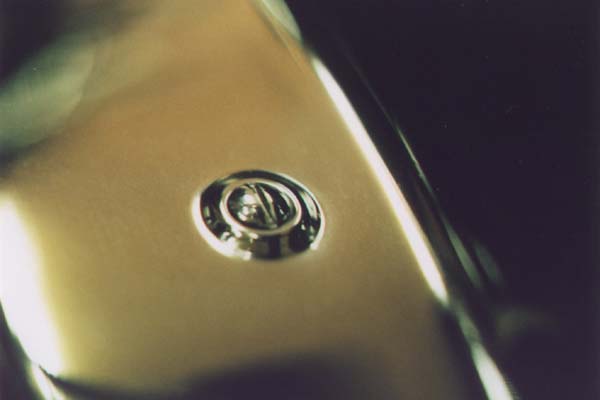
This is a close-up of a front fender to frame screw. Like nearly all original oval head machine screws, the slot is cut so the ends are even with the edges of the screw head. Modern oval head screws are slotted deeper at the ends.

 ©1998 Marco Tahtaras